

It’s coming together!
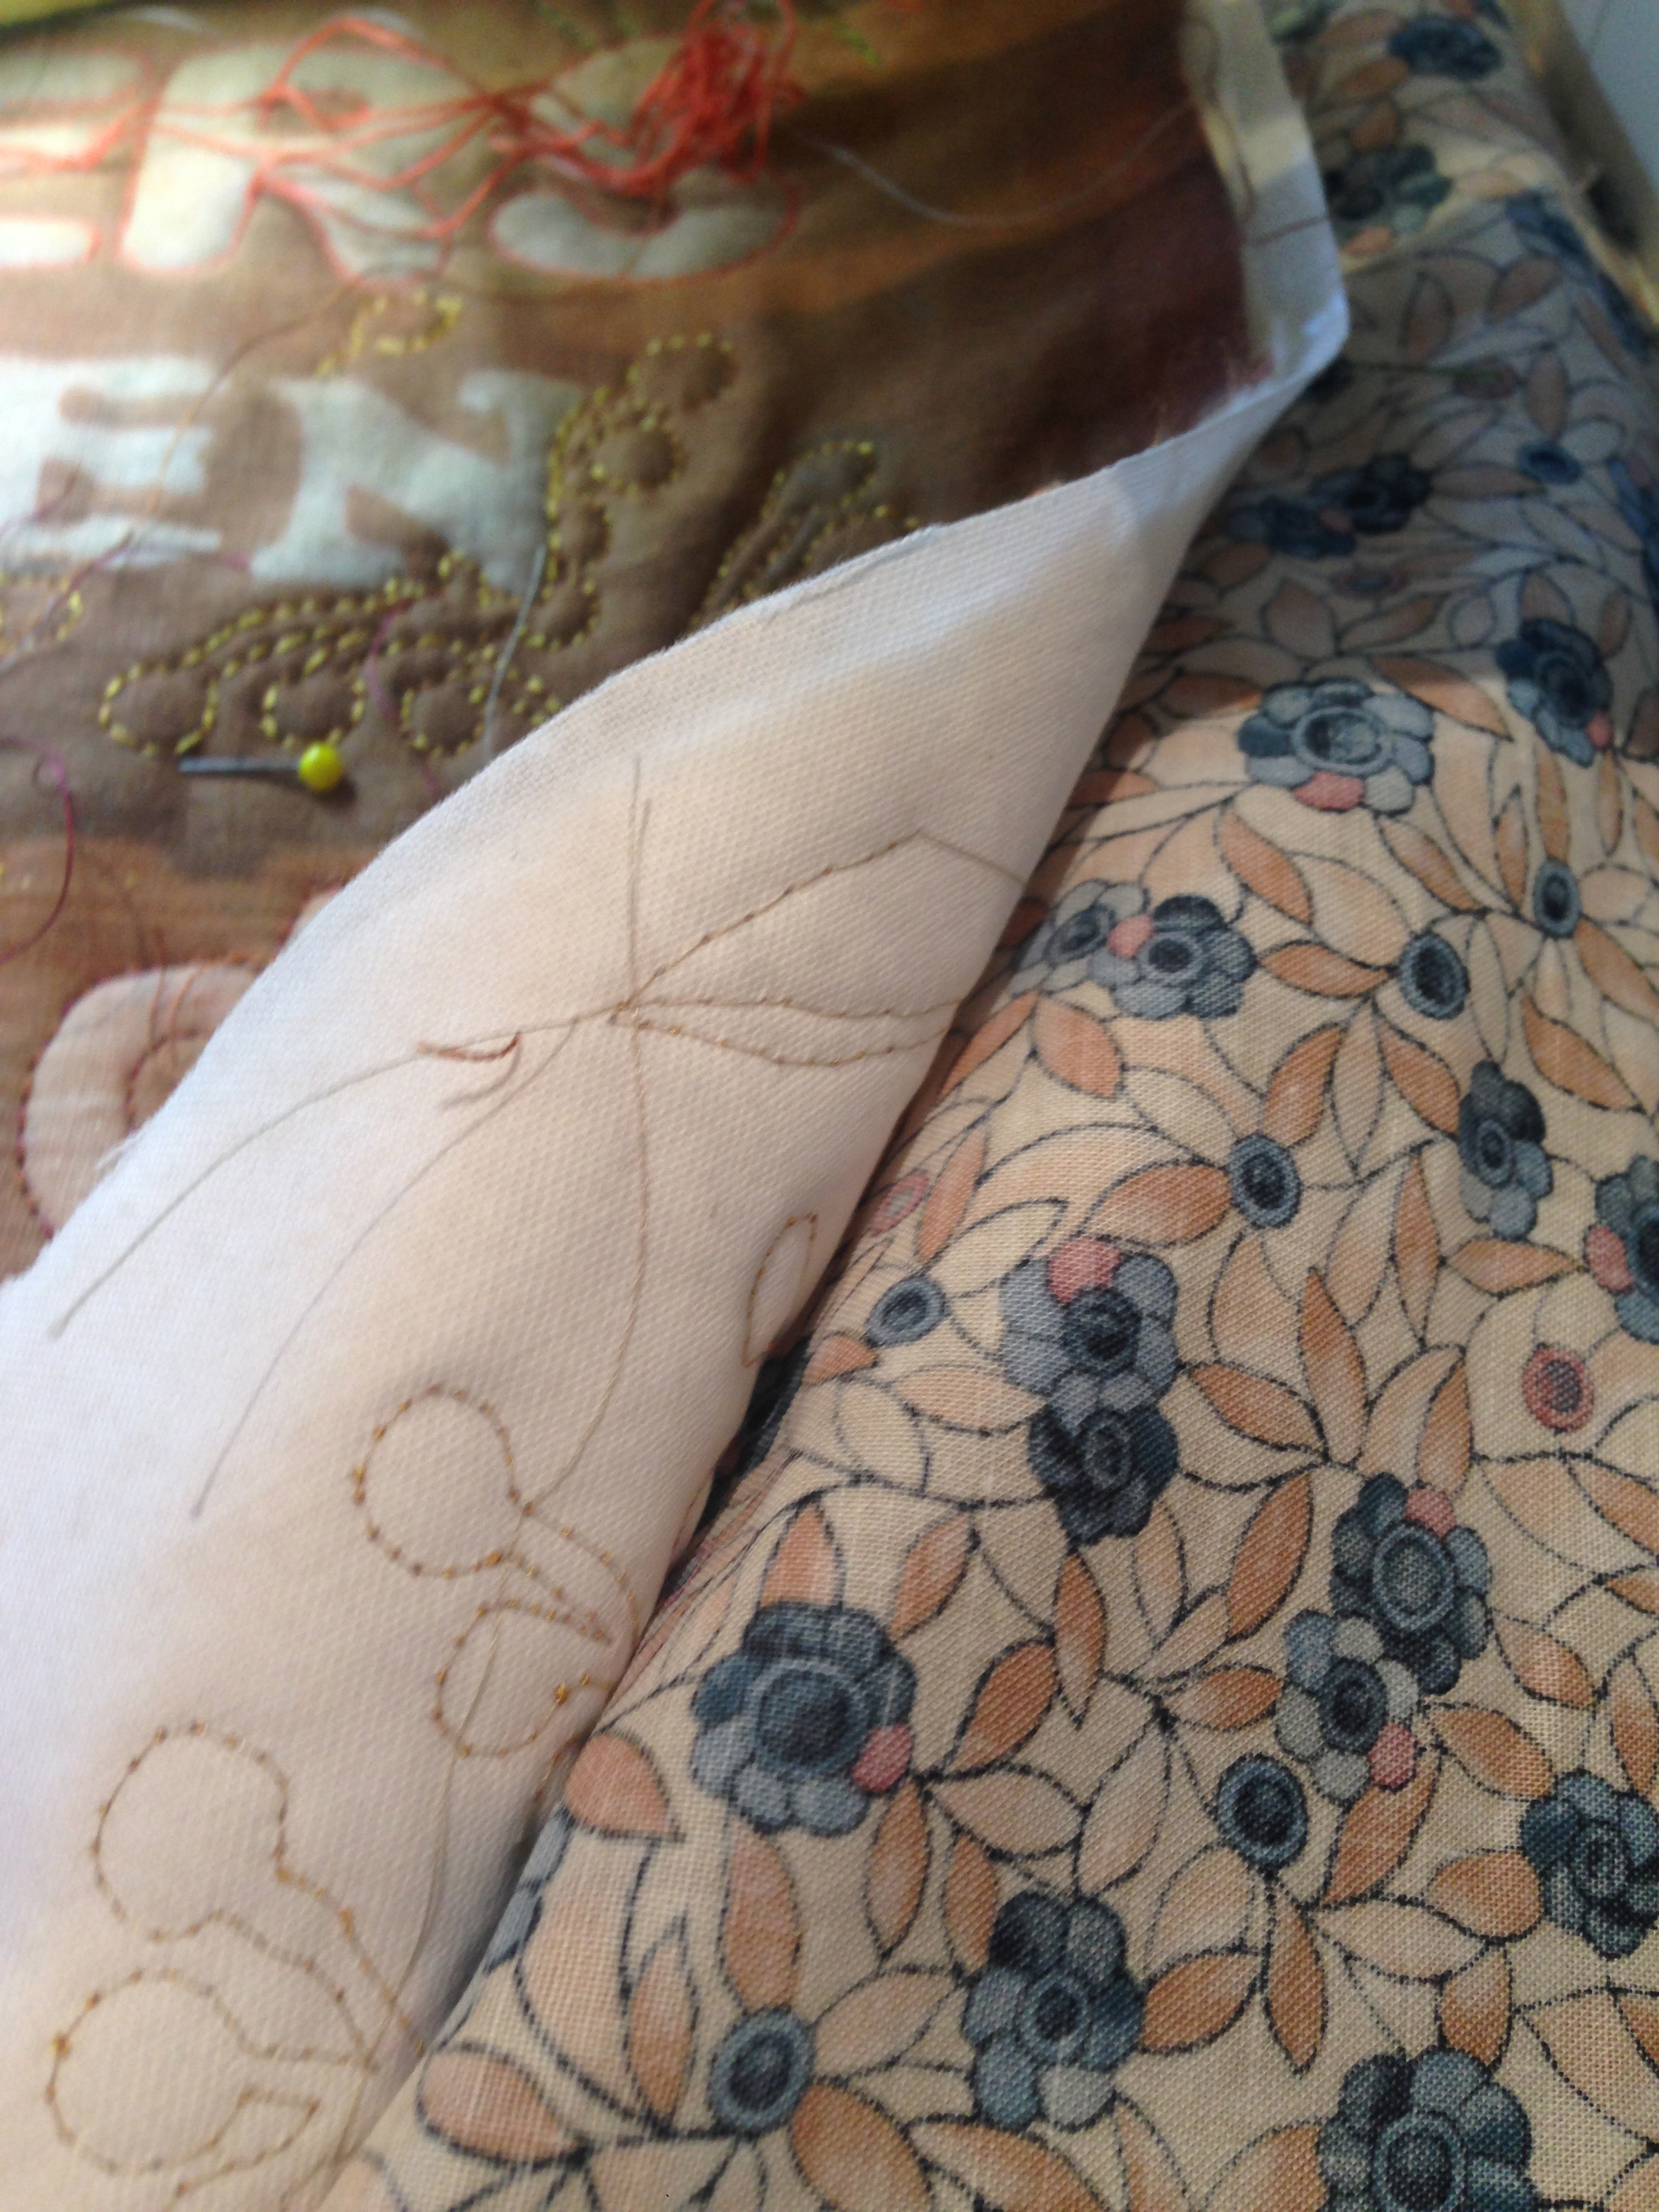
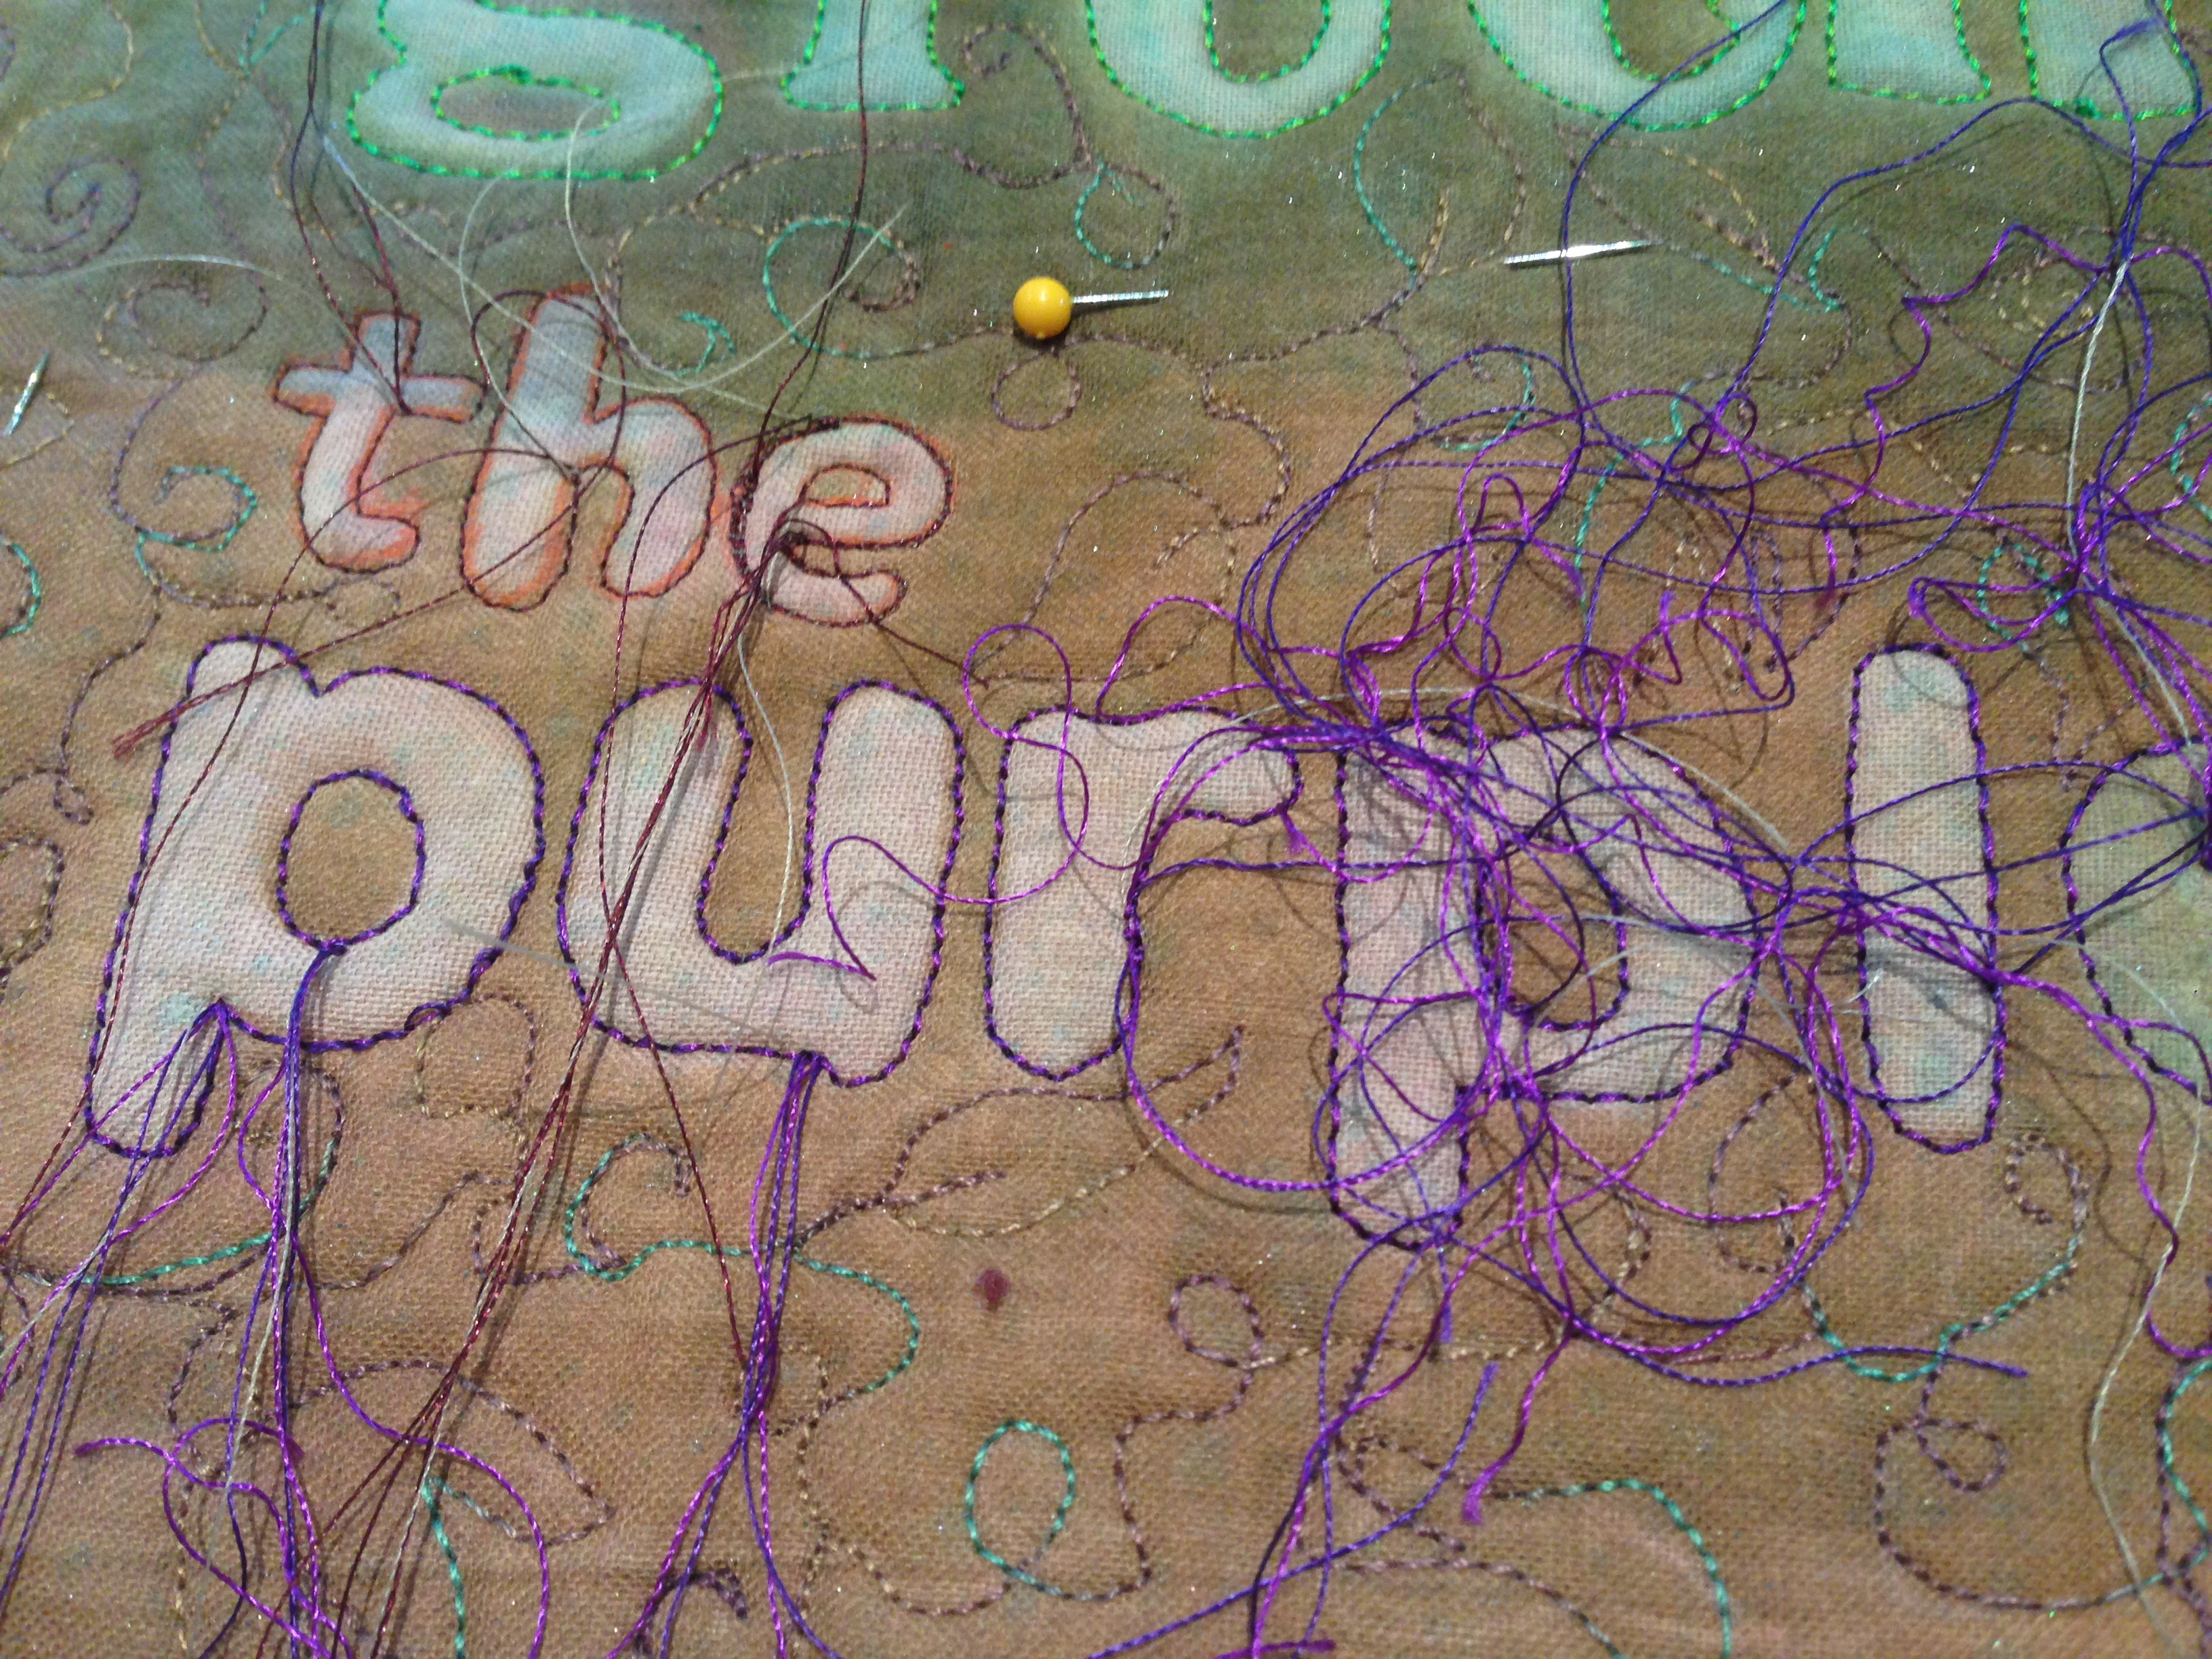
I’ve added the backing fabric and I’m sewing around each letter. I’ve decided to use Double Threads through the needle as I wanted a variegated effect, but as most of the threads change colours unevenly or too evenly, I prefer using 2 threads through the needle.

I really like the thickness and texture that this provides.
I will be threading the ends in so until them I end up with a birds nest!
Threading in gives the quilt a much better look and feel, which is perhaps not visible to the eye, but it seems better constructed.
I use a needle with an open end, an easy threading needle which allows me to slot the threads in rather than threading them through the eye.
Looks wonderful! I keep my easy thread needle, thimble and scissors very handy and sew the tails in as I go! Helps control that bird’s nest, and keeps the threads out of the way of the stitching…. 🙂 just saying!
LikeLike
Ahh, but my machine time is limited.. And it gave me something to do in front of the TV.
All good! 🙂
LikeLike
I’m really curious if you’ve ever used Inktense Pencils from Derwent on any of your quilts or other fabric projects?
LikeLike
Yep! And the blocks! I like them, but of the two prefer the blocks! However that could be because I’m not a fine artist, ie: I wouldn’t use then to draw a bird, but I would use them to put the colour in after!
LikeLike